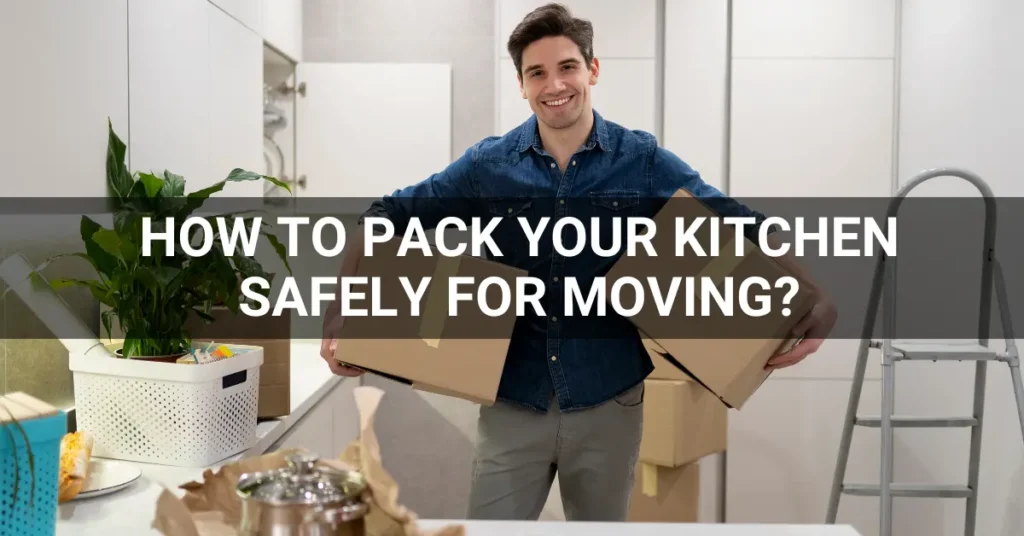
How To Pack Your Kitchen Safely (Plates, Glasses, Liquids, Appliances)
Moving your kitchen can feel overwhelming—but with the right preparation, materials, and process, you can get everything packed safely and efficiently. This guide walks you through each step in depth, using reliable advice and professional moving-company insights.
Necessary Boxes and Other Supplies
What You’ll Need
Gather sturdy boxes of various sizes, packing paper, bubble wrap or eco-friendly alternatives, strong packing tape, permanent marker, labels, and protective padding for fragile items. For small appliances you’ll also need cord ties and original manuals if available.
Choosing the Right Box Sizes for Different Kitchen Items
Select box sizes that match the weight and shape of items. Heavy items go in smaller sturdy boxes; plates, bowls and glassware need dish packs or boxes made specifically for them. Using standard large boxes for heavy kitchenware increases the risk of damage or injury.
Eco-Friendly Packing Materials You Can Use
Rather than using only plastic bubble wrap, consider recycled paper, biodegradable packing peanuts, reused linens or towels, and cardboard trays. Sources like This Old House’s guide to eco-friendly supplies demonstrate how you can reduce waste while keeping things safe.
Labeling and Colour-Coding Your Kitchen Boxes
Use colour-coded stickers or labels (for example: red = fragile, blue = heavy, green = essentials) and clearly mark each box “Kitchen – Plates,” “Cups – Fragile,” etc. This makes unpacking easier and helps movers know which boxes to handle with extra care.
How to Pack Plates and Bowls
Use Proper Wrapping Materials (Paper vs Bubble Wrap)
Wrap each plate or bowl individually in packing paper or bubble wrap. Some prefer paper for eco-reasons, bubble wrap for extra cushioning. According to The Spruce’s dish-packing advice this step is crucial.
Packing Plates Vertically for Safety
After wrapping, stand plates on edge in the box (rather than laying flat) so that less surface is exposed to pressure and shock. The same source from The Spruce confirms vertical packing is safer.
Layering and Cushioning Techniques
Line the bottom of the box with scrap paper or a soft pad, place a layer of wrapped plates vertically, insert a layer of padding between each, then add another layer. Use the “dish barrel box” concept for extra fragile sets.
Labeling Fragile Boxes Correctly
Write “FRAGILE – Kitchenware” on multiple sides, add arrows to indicate “This Side Up,” and highlight “Plates/Bowls – do not stack.” Clear labeling helps ensure safe handling.
How to Pack Cups, Glasses, and Stemware
Using Dividers and Compartment Boxes
Glasses and stemware benefit from specialty boxes with cardboard dividers (“cell boxes”) to keep each glass separate. MoveAdvisor’s article on packing glassware explains this setup.
Wrapping Each Glass Individually
Wrap each glass using packing paper or bubble wrap, tuck extra padding at the bottom, then stand them upright in a cell. GoArmstrong’s how-to on glassware outlines this in detail.
Protecting Stems and Handles
For delicate stemware, fold a small piece of paper into a ring around the stem, or use old socks to cushion. Prevent handles on mugs or glasses from pressing against each other or box walls—this reduces risk of chipping.
Best Way to Load Glassware Boxes in the Moving Truck
Place glassware boxes low in the stack (below heavier boxes), ensure nothing is stacked on top of them, and fill gaps with soft items (towels/ linens) so the box can’t shift. United Van Lines’ kitchen packing blog supports this approach.
Other Kitchen Items
Teapot
Teapots often combine fragile porcelain with a heavy lid, making them double-risk items. Wrap the teapot and lid separately, cushion the spout and handle, and sit the teapot upright in a box filled with padding.
Knives
Sharp knives demand extra caution. Wrap each blade in thick protective paper or place in a blade guard, then wrap as a bundle. Pack on their side in a box marked “Knives – Sharp.” United Van Lines emphasizes that improper packing of knives is a common moving hazard.
Pots and Pans
Pots and pans are heavy and often awkward; avoid mixing them with fragile kitchenware. Stack pans inside each other with padding between, and wrap handles separately. Place heavier cookware in small boxes so they’re easier to carry. JK Moving’s kitchen checklist covers this well.
Utensils and Cutlery
Wrap individual utensil trays in cling wrap or packing paper so nothing pokes through. Place them flat in a box with light items to avoid damage. United Van Lines’ blog includes this tip in the “Other kitchen items” section.
Baking Trays and Mixing Bowls
Mixing bowls and baking trays should be nested with paper between each to prevent scratches. Use soft padding if leaving nested in the same box. Handle lightly and place near top of stack since less weight will be stacked on them.
Spices, Oils, and Condiments (How to Prevent Spills)
Ensure lids are tightly sealed, then wrap jars in paper or plastic, place in upright position in a box, and consider placing them inside a plastic bin in case of leak. Move.org recommends sealing and securing liquids before transport. Evolution Moving suggests zip-lock bags under lids for extra security.
Bonus Tip: How to Pack Kitchen Appliances
Small Appliances (Toaster, Blender, Mixer)
Clean thoroughly first, detach power cords and accessories, wrap in bubble wrap or paper, place small components in labelled bags, then pack in sturdy boxes with plenty of padding. Moving.com’s small appliance packing guide gives step-by-step instructions.
Large Appliances (Microwave, Refrigerator)
Disconnect power, clean inside and defrost freezer if applicable, tape doors shut, protect surfaces with moving blankets. Prepare according to manufacturer’s instructions for safe transport. WeMoveTheWorld’s appliance-moving blog offers a good template.
Preparing Appliances Before Packing
Drain water from ice-makers, remove shelves, take out detachable trays, tape cords to body, label the cords and keep manuals with the appliance for easy re-set up.
Protecting Electrical Cords and Accessories
Wrap cords in paper or bubble wrap, secure with a twist tie, and label which appliance they belong to. Schroeder Moving’s small appliance guide highlights the risk of cords scratching appliance surfaces during movement.
Packing Tips for a Short-Distance Move
Simplified Packing for Local Relocations
For moves within the same city or town, you may consider leaving some lighter items unpacked until the last hour—but still use proper padding and secure boxes. Local movers often recommend keeping the number of boxes manageable to reduce multiple trips.
Reusing Containers for Quick Transport
If you’re moving just a few blocks, you can reuse food-grade bins or clean laundry baskets for items such as plastic plates or utensils—place padding inside and wrap the whole container in shrink-wrap or tape. Many DIY moving forums (e.g., Reddit posts about local moving) endorse this.
When You Can Leave Some Items in Drawers or Cabinets
If you’re confident the furniture won’t shift and you’re using professional movers who will strap furniture securely, you may leave non-fragile items in drawers (for example Tupperware or cooking utensils). But only if the drawer contents are stable.
Setting Up the Kitchen Quickly After Moving
Pack a dedicated “first-use” box containing coffee mugs, a kettle or kettle water pot, a few plates and utensils, dish soap and sponge. According to The Spruce’s kitchen move guide this lets you get your kitchen usable quickly after arrival.
Packing Tips for a Long-Distance Move
Extra Protection for Fragile and Expensive Items
When moving across cities or states, your items will be in transit longer, handled more times, and subject to more jostling. Increase padding around expensive sets, consider double-boxing, and include a layer of cushioning inside the top of the box. United Van Lines highlights the need for added protection for long-haul moves.
Sealing Liquids and Preventing Leaks
Especially important for oils, sauces, condiments on long-distance moves. Use zip-lock bags + tape under lids, pack upright, and keep liquids separate in a bin inside the box. .
Organizing for Easy Unpacking at Destination
Label boxes clearly, include a brief inventory list of kitchen boxes, number the boxes in loading order of truck so you can unload in efficient sequence. Blogs like MyPieceOfCakeMove emphasise this for long moves.
Insurance and Inventory Check for Long Moves
Before shipment, photograph fragile or high-value items, record serial numbers if applicable, and ensure your moving contract covers damage during transit. While not always kitchen-specific, many professional moving guides recommend this step for long-distance relocations.
Essential Tips for Safely Packing Kitchenware During a Move
Start Early and Declutter First
Begin by going through all your kitchenware, disposing or donating items you haven’t used. This reduces the volume of items to move (and reduces cost/time). lists decluttering as the first step in a safe kitchen move.
Keep a Separate “Essentials Box” for Moving Day
Pack a clearly labelled box with items you’ll need immediately post-move: one cooking pot, a kettle or a microwaveable dish, a couple plates and utensils, dish soap and sponge. This box stays with you or goes in your vehicle. The Spruce encourages this “first-night” approach.
Don’t Overpack – Keep Boxes Light and Manageable
Heavy boxes are difficult to carry, more vulnerable to damage, and risk injury. Rather pack more boxes that are easier to move. As MyPieceOfCakeMove notes: better light than overfull and heavy.
Label Fragile Boxes Clearly on All Sides
Ensure each box has labels on top, front and sides, marked “FRAGILE” and “THIS SIDE UP”, plus a list of contents. This helps movers place them properly and alert them to special handling.
Kitchen Items Not Moved by Packers and Movers
Food Items
Many moving companies do not transport perishables or open food containers (especially in long-distance or climate-sensitive moves).
Half-Used Items
Partially used items (e.g., open jars of spices, half-full containers) are often excluded because of spill risk and unknown stability during transit. Use your own packing strategy (see liquids section) and check with your mover.
Flammable Items
Items like propane tanks, oily rags, aerosol cans, self-built BBQ fuel cylinders are commonly excluded from moving coverage due to hazard.
Alcohol
Many moving companies treat alcohol as a hazard or separate category—packed at your own risk, often excluded from liability. It’s best to consume or transport separately.
Perishable Items (Frozen or Refrigerated Foods)
Frozen goods, open bottled foods, dairy, or items needing constant cold are rarely moved by regular movers—because they risk spoilage. U-Haul recommends clearing your freezer and fridge ahead of time.
Final Checklist Before You Move
Cross-Check All Packed Boxes
Go through your inventory list, ensure everything has been packed, everything labelled, and nothing is overlooked.
Confirm Appliance Shut-Offs and Clean-Up
Ensure all large appliances are unplugged, defrosted where needed, cords taped, doors secured, water/gas supply turned off if applicable.
Pack an “Unpack First” Kitchen Box
Label this box clearly and make sure it stays accessible. It should contain items you’ll need immediately — coffee mugs, kettle, dish soap, basic utensils.
Dispose or Donate Unusable Items Responsibly
If you’ve decluttered large quantities of kitchenware, consider donating usable items to local charities or recycling them properly.
Simplify your relocation with 6 Packers and Movers — India’s trusted experts in safe kitchen and household moving. From delicate glassware to heavy appliances, their professionals ensure every item reaches your new home safely. Book your kitchen packing service today for a stress-free move!
FAQs About Packing Your Kitchen for Moving
The best way to pack your kitchen for moving is to start by decluttering and sorting items. Use sturdy boxes, wrap each dish, glass, and utensil individually with packing paper or eco-friendly material, and clearly label all fragile boxes. Always keep an essentials box for your first day in the new home.
To pack kitchen appliances safely, clean and dry them completely, remove detachable parts, and wrap cords separately. Use original boxes when available. For large appliances such as microwaves and refrigerators, disconnect power, secure doors with tape, and cover them with moving blankets for protection.
Avoid packing perishables, half-used food containers, flammable liquids, and alcohol bottles. These items are restricted by most moving companies due to spill or hazard risks. It’s best to consume, donate, or properly dispose of them before moving day.
6 Packers and Movers are trained to safely pack and transport kitchen items. They use specialized dish packs, dividers, and protective wraps to handle fragile glassware, utensils, and appliances with care.
You can use recycled paper, biodegradable packing peanuts, reused towels or linens, and cardboard inserts as eco-friendly alternatives to plastic bubble wrap. These sustainable options protect your kitchenware while reducing environmental waste.